Since I do so much work on offsets I've been trying to do some ongoing blogs about setting up and servicing both Jags and Jazzmasters. While I personally prefer Jazzmasters I used to be more into Jags and still own some nice ones, which I hire out or recording or live use.

This Jag came in for a set up and I thought I'd do one on some simple things you can look at yourself. Although the past two stories have focused on issues that are relevant to both offset models as well.
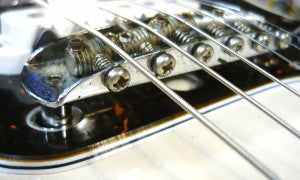
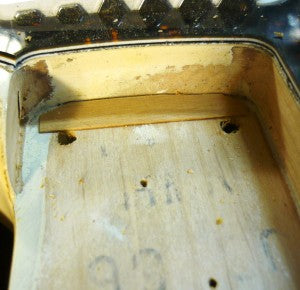
As I've discussed before, after playing it and determining what needs doing, the first thing I ALWAYS do on offsets is take the neck off and put a shim in. This gives as a slight angle which gives me more height at the bridge to help with the issues these guitars have. On Jags, just like JM's I prefer the original bridge for its tone but it can have issues with buzzing and strings staying in place.
I noticed the new Johnny Marr signature Jag has a Mustang bridge fitted which he discusses in length in an interview with one of the big US guitar mags and says although he prefers the tone of the original bridge, they just couldn't get it "right for him" so ended up using a Mustang bridge which was the next best thing.
With the shim in the neck pocket the neck is bolted (screwed) back on and given a fret dress. This neck had some high frets and a bump at the body joint which would have caused bad buzzing and fretting out on the high frets.
The Jaguar is a short scale (24") as apposed to the long scale JM at 25.5" so we have a lot less tension in the strings at equal gauge and tuning.
Personally I would run MUCH heavier strings than this (10-46) on a Jag but part of being a repairer/set up guy is trying to make a guitar play at its best, no matter what it is, what tuning and what gauge strings you're given which can be a real challenge sometimes. That's all part of the fun.
With the guitar strung back up and in tune it's easy to see we're already closer to where we want to be as far as buzz and tension goes. I had to take the neck off again to adjust the truss rod but I'm pretty used to this on Fenders and can usually get this right after one adjustment.
Once it all settled in it was time for a full set up. The bridge is adjusted like I've described in the previous offset blogs (see links above).
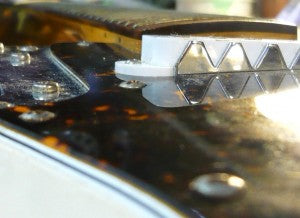
Remember if you're going to shim the neck and get some height on the bridge you will probably have to put some more foam under the pick ups, at least the bridge one. Fender use high density foam and two screws directly into the body to set the height of the pickups and this foam sets in one place over time.
You can cut a smaller piece of foam to sit on top of the original or remove that one and put in a whole new piece. Fender just use double sided tape to hold this foam in so once you lift a corner it generally comes out fairly easily.
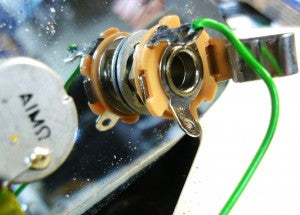
It was obvious the output jack needed replacing as it was buzzing and crackling. Fender rely on the earth for the output by using the metal plate that the pots and jack are attached to rather than spending an extra five cents and doing it properly.
I always run a separate earth wire to the jack when changing the jack on any Fender done like this.Once there jack comes a little or gets corrosion in under the spring washer, the earth connection is compromised and the whole guitar suffers for the sake of a 2cm piece of wire.
Some more "OFFSET" reading.


